The topic Your Windows PC can already stream to your TV without any extra hardware — here’s… is currently the subject of lively discussion — readers and analysts are keeping a close eye on developments.
This is taking place in a dynamic environment: companies’ decisions and competitors’ reactions can quickly change the picture.
There are so many occasions when we want to show what’s on our laptop to more people on a big-screen TV. It could be a hilarious YouTube video you recently came across, a presentation you made for your team, or an album from your recent trip. No matter how sharp your laptop’s display is, it is not big enough for more than two or three people to watch the content on it. If it had been on your smartphone, you would have started screen mirroring. What about your laptop?
The good thing is that your laptop has everything you need to cast your screen to the big TV. The secret feature is called Miracast and is standard on all modern Windows laptops. Moreover, setting it up is quite easy, and this guide will tell you exactly that.
Why let that giant screen go to waste between Netflix sessions?
Before we start digging into the Settings menu on our Windows laptop, it’s good to know what Miracast actually is. For those who don’t know, Miracast still uses HDMI cables to connect laptops to TVs to watch content.
While that is another good option and relays content in high quality, stretching a long cable across the room can be a bit risky, especially when you have children or older people in the house. You can get a streaming stick, but that is another investment.
Enter Miracast. Think of it as an invisible HDMI cable. In short, it is a wireless technologies that allows two devices to connect and share a screen. Unlike Apple AirPlay or Google’s Chromecast, which rely on an active internet connection, Miracast creates a direct bridge between your PC and TV without an internet connection.
It uses Wi-Fi Direct, so your PC or TV doesn’t need to be connected to the internet. In fact, they don’t even need to be connected to the same Wi-Fi network. And the best part is that if your TV and laptop are relatively modern, you don’t even need third-party apps, and it’s free.
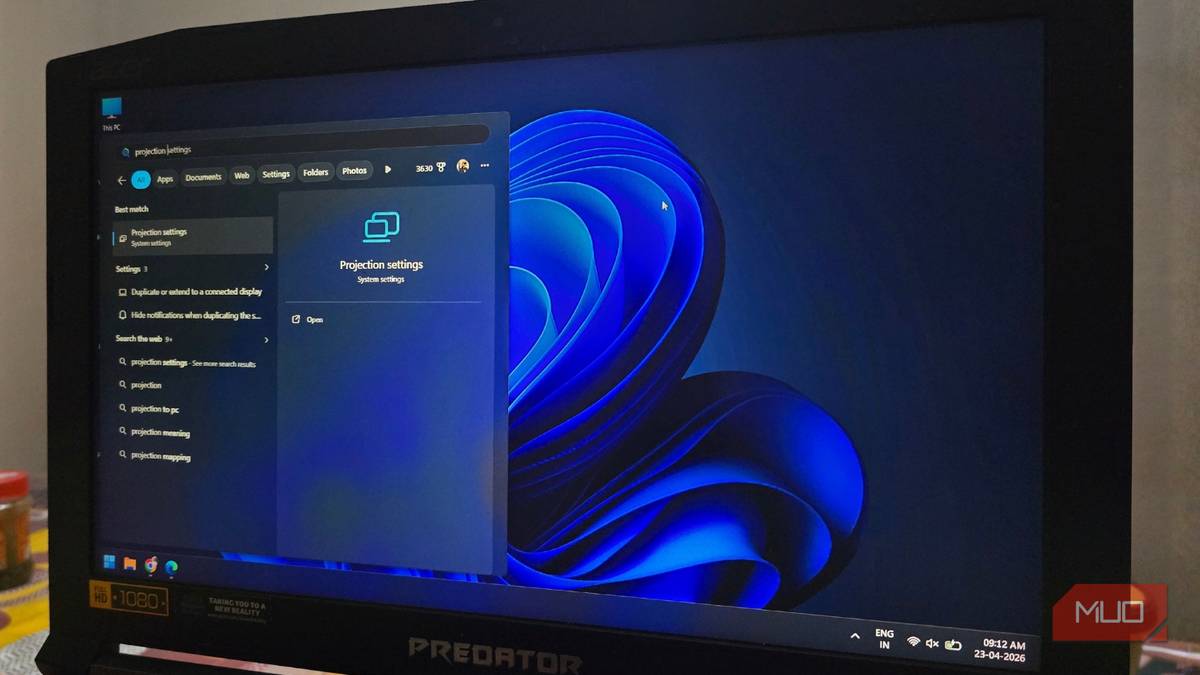
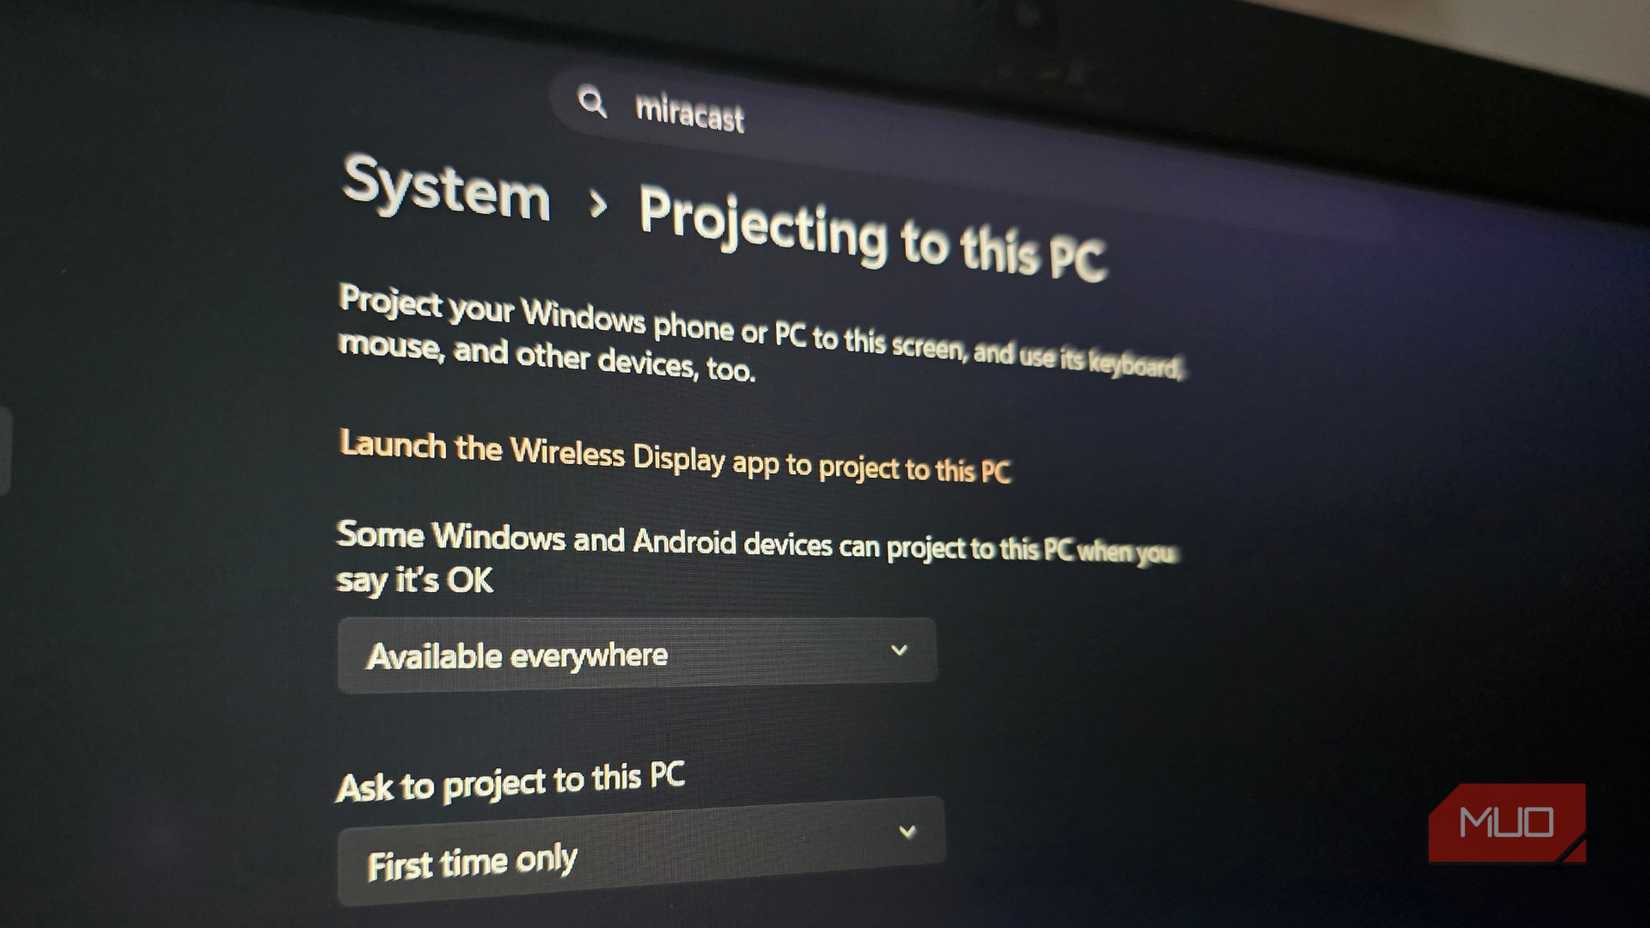
For those who have a laptop that came with Windows 10 or 11 out of the box, you are almost ready to go. Miracast has been a feature that came with Windows laptops and Wi-Fi-enabled desktops for years. You can check if your PC supports it or not by following the steps below:
Before you begin, you can also check whether Miracast is available on your smart TV. Most modern TVs, whether they run WebOS (LG), Tizen OS (Samsung), or Android TV, have Miracast built in. But brands rarely use Miracast to define the technologies and instead use their own branded terms.
If you see anything like Screen Mirroring, Smart View, Anyview Cast, Wireless Display, Cast Screen, etc., then your TV has Miracast.
After you have confirmed that both your devices, i.e., your laptop and your TV, have Miracast, the actual connection process is quite easy, and it takes a few seconds to connect them both.
After this, your TV will instantly mirror what is on your Windows laptop. However, you aren’t just restricted to mirroring. If you press the Win + P keys, the Projection Menu opens, and you can choose how you want your PC displayed on the TV. You will have the following options:
A healthy reminder that you should not expect Miracast to function properly every time you run it. You may experience issues trying to run Miracast.
Miracast is often overlooked because people either don’t know it exists or don’t know how to set it up. Once you know the stuff, you will never want to go back to hunting for the right cable, switching inputs, or even getting a streaming stick. It is the quickest way to share your PC’s screen for a presentation in a meeting or for a movie date with friends and family. Miracast is available for free and does not even require Wi-Fi.